I will most likely not do a video every day, because I think I sound super cheesy. However for the first day I thought it would be okay. so watch this first and you'll learn about the supplies that are needed.
I told you...it was totally cheesy ;)
I went to Staples and bought a "mini" 3 ring binder note book (6X8.5 inches) and removed the 3 ring bind from it. I used a pair of pliers and it came apart fast and easy. I'll do a video about that on Monday, just so you can see how I did it.
So grab your old book, a craft knife and the binder.
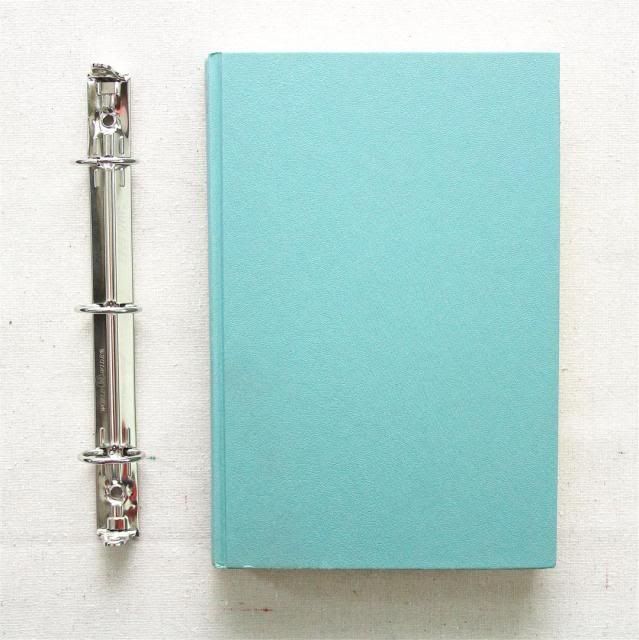
Open the cover of the book and place your craft knife at the top of the binding area.
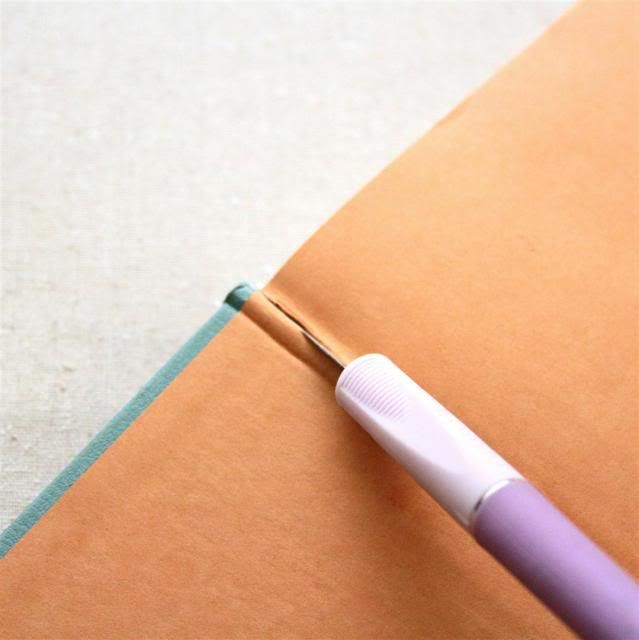
Cutting all the way down, will allow you to separate the papers from the covers backing.
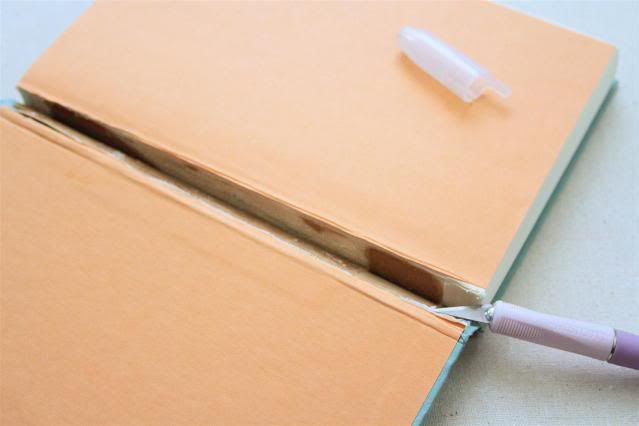
Repeat this step on the other side and the papers will come out with little effort.
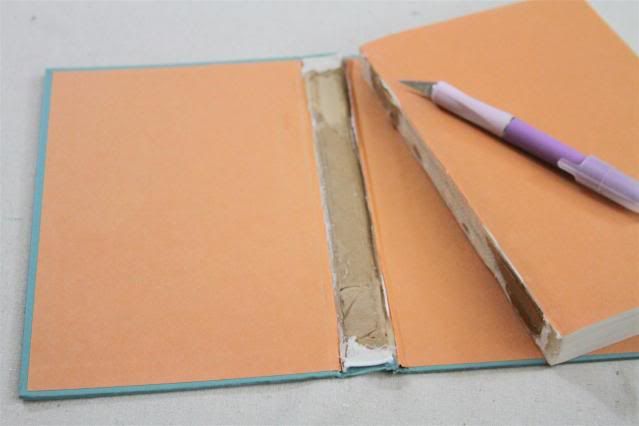
Take your 3 ringed binder and mark your holes on the inside of the spine.
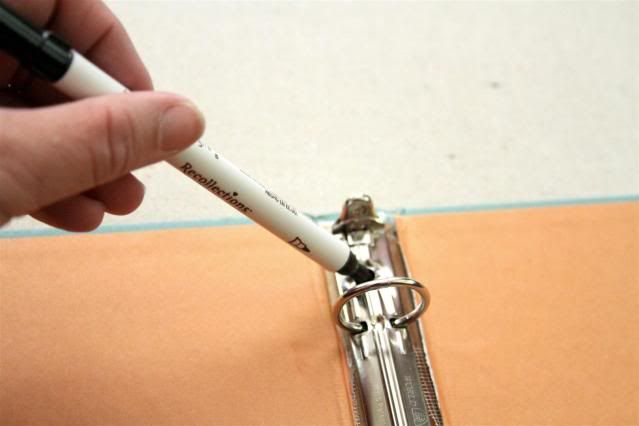
Using a hole punch and punch out the marked areas.
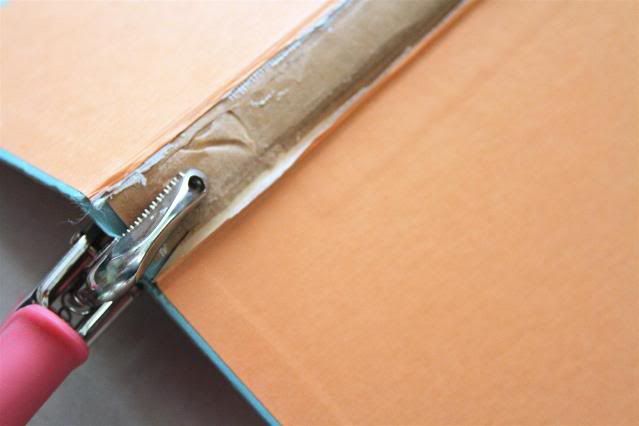
Decide what paper you want to use for the spine and cut a strip of paper down to side.
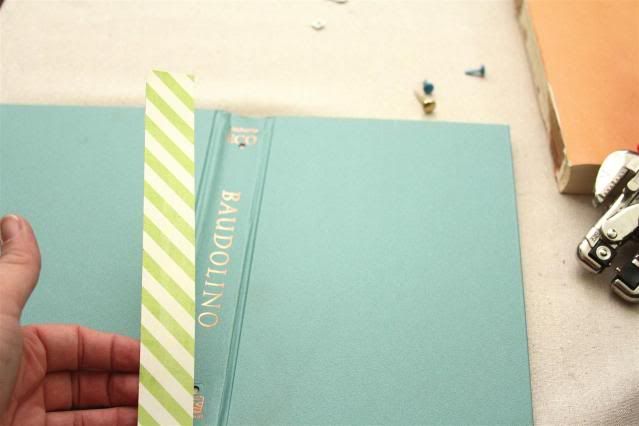
Then using a lot of adhesive, place the strip of paper in place and re-punch your holes.
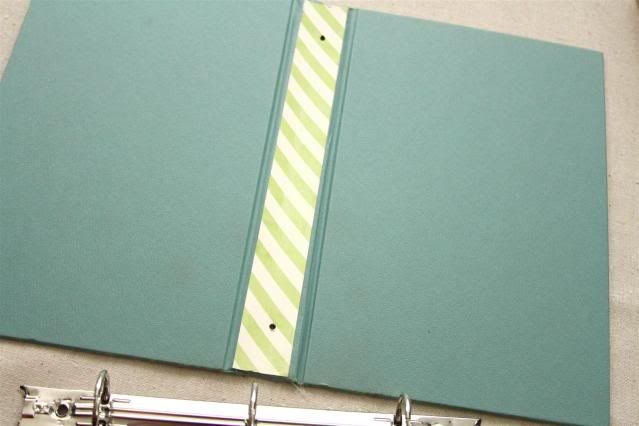
Taking two brads and the 3 ring binder, place them through the holes of the cover's spine.
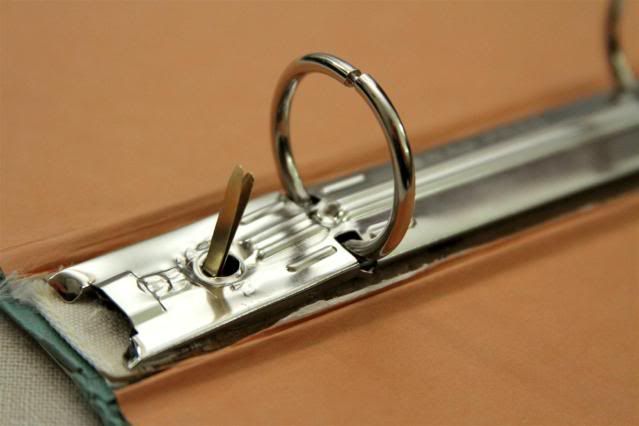
Open the brads and tuck the "legs" of the brads, under the 3 ring binder. I used my pliers for this part. It allowed me to make sure it was snug.
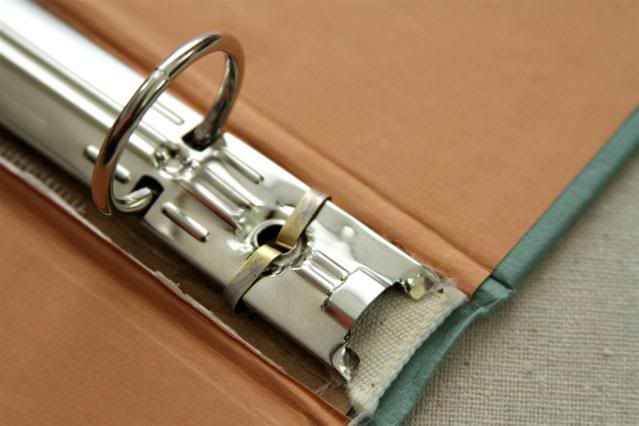
When you have finished following these few small steps, you'll be ready to decorate and insert your pages for the months. I told you... it goes really fast. Like tops... 10 minutes.
I hope you enjoyed day one, because each new day I'll be sharing fun new paper tips and techniques...ya know, fun ways to display those treasured photos you take throughout the year. My next class will post on Monday, Dec 24th.


6 comments:
Hi Heidi!
I really love your idea for A Year in a Book and to be honest I'm a bit sick of christmas scrapbooking, so I love it!
Just wanted to let you know, that you uploaded a playlist instead of just a video. We can see Calvin reading right after the video is over. I don't know if it was meant to be that way!
Thanks anyway!
LOL thanks I'll fix it :)
Dude. What a freakin' genius!
Seriously.
I never thought if doing that! Very cool!
I'm glad you posted the video. I've been saying SON-bull (like pawn or don) instead of SIN-bull. What country does the name come from originally?
Love it! TFS!
Post a Comment